There’s no way to get around it – re-doing your home office is work. I estimated it would take a week to complete the job.
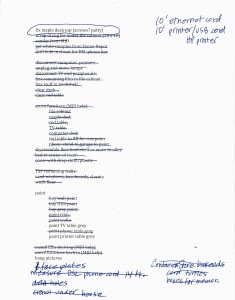
I had a list of what needed to be done. I determined which I could do alone and when I would need help. It was a challenge, and sometimes a huge pain in the neck, but the result was worth it!
Moving Stuff Out
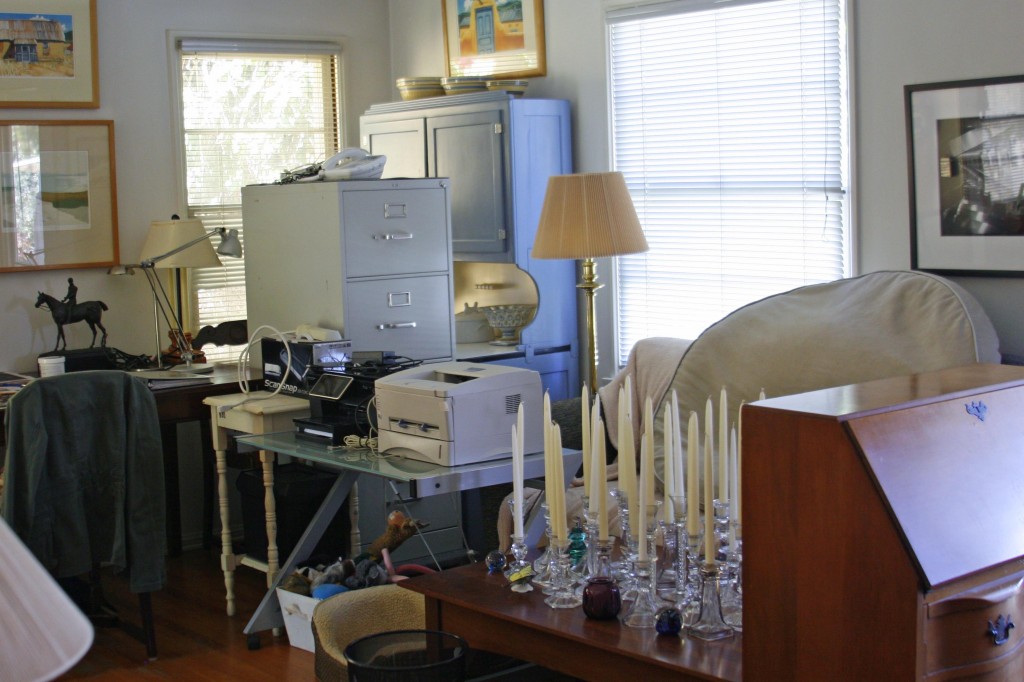
- Lighten the load. Even professional organizers can have too many things. Yikes! The bookcase and file cabinet were packed with stuff. It was a great opportunity to shed some weight and keep only what I really needed.
- Keep only what you need. Furniture takes up a lot of room. Duh, right? Make sure each piece is serving a function. An office isn’t the place for an extra coffee table.

Fixing The Room
- Prep is key. Gawd, I hate to wash walls and sand window frames. But I knew that proper preparation would make the painted walls look better and last longer. So I scrubbed with TSP, spackled nail holes, and scraped old flaking paint before I re-painted.
- Sometimes you have to crawl. My plan to move the desk to the opposite wall meant I had to re-arrange power cords and computer connections. I found out from my DSL provider that the modem should be no further than 12 feet from the jack. The shortest distance between two points is a straight line so into the crawl space I crept to pull the line under the floor.

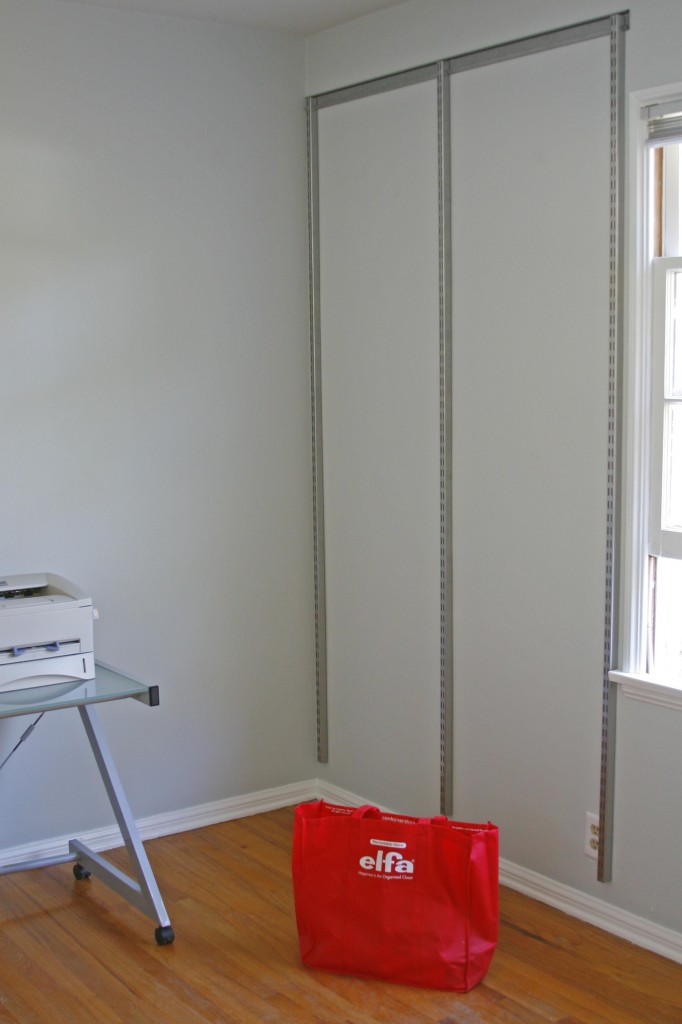
Once the top horizontal bar is attached to the wall, the rest is easy!
- Who ya gonna call? My friend MJD is a whiz with power tools and a fearless handyperson. Who better to help me hang the critical horizontal track for the shelving unit – the only hardware affixed to the wall. It needed to be absolutely level and securely installed. The instructions were clear, and even though we never found a wall stud, the drywall anchor screws did the job. Hanging the shelves were a breeze.
Putting Stuff Back
- How did this all fit? Why does stuff seem to expand when unpacked? I now had more linear inches of shelving, but why didn’t I have extra room? Well I did. Before I had books and supplies jammed in the bookcase on top of each other. Arranging the shelves so everything was visible and accessible took more space. In fact, the space I now had was perfect.
-

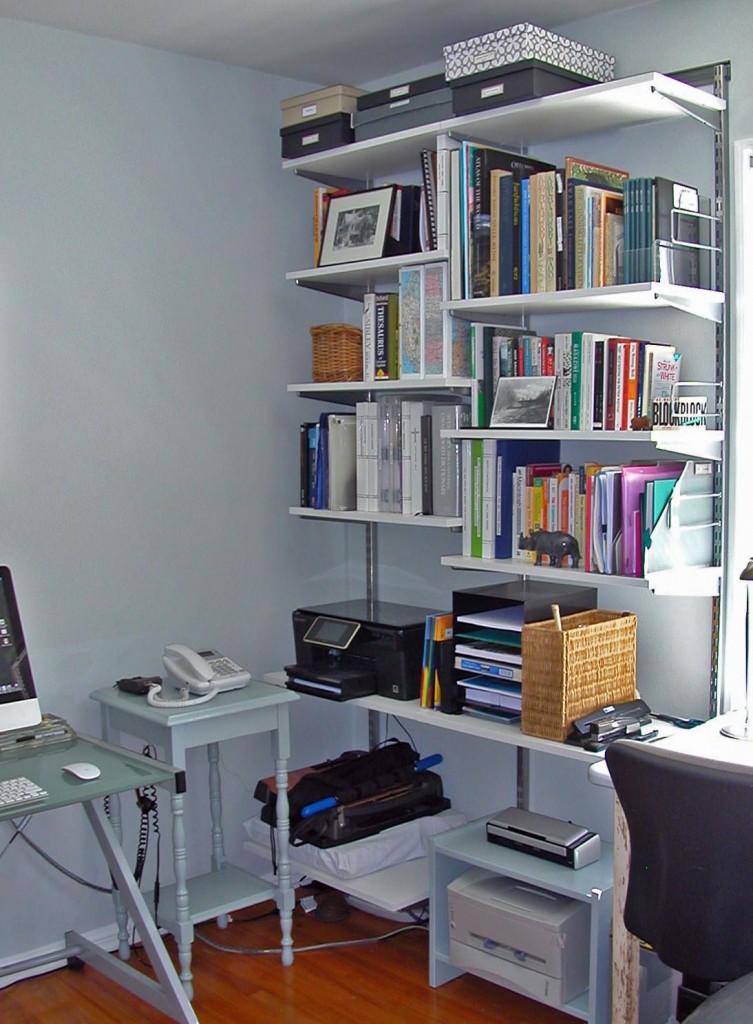
Everything has a place on the new shelving Does it look nice? The shelving is the first thing you see when you enter the office. If it was visually cluttered, the whole room would feel cluttered. I bought a few new containers and re-purposed others to keep the shelves clear of “little stuff.” I balanced the arrangement of books and binders on the shelves. I moved my current project files off the desktop and onto an adjacent shelf, creating a clear, uncluttered writing surface. Everything looks harmonious.
- But does it work? Yes, yes, and again yes! The makeover accomplished my goals and I love working in my new office. The result is exactly as planned. Sometimes I just stand in the doorway and admire it. Yay, me!
Next: Lessons Learned